However, when I turned 10, my sisters planned the coolest
party I remember to date. We played games, there were cheesy prizes and I’m
pretty sure I got a kiss from my boyfriend (on the cheek; does that still
count?). I remember being so excited for weeks building up to the big day.
Recently, my youngest step daughter, Emilee, turned 11. She
is still at the age that grown up’s are fun to hang out with and also young
enough to appreciate parties. So, I decided this would probably be my last
chance to throw an awesome birthday party full of all the girly frills that she
will soon outgrow. Zebra and neon are in like crazy right now, so I went with
that for the theme of the party.
INVITATIONS
 I started with invitations. I made these with my Cricut by
cutting out the balloon shape at the 5” setting. I cut one black, one colored
and one white. Then, I used a Xacto knife to cut wavy stripes out of the black
shape. I brushed the colored shape with glue and sprinkled with glitter to give
them an extra fun sparkle and, once they dried, sewed all three together with a
zig zag stitch (I used black thread because I wanted the contrast on the white
side with the party details, but you could also use white if you wanted
contrast on the front or of course any color you want for an even bigger “pop”). I couldn't find any envelopes to fit the balloons, so I just took a white scrapbook paper, cut it in half, folded that in half, clipped the corners, put the balloon inside and sewed (with black thread) around the edges to seal it. I also added a tuft of zebra fabric and a neon button to the bottom to keep the invitation from moving around inside the envelope.
I started with invitations. I made these with my Cricut by
cutting out the balloon shape at the 5” setting. I cut one black, one colored
and one white. Then, I used a Xacto knife to cut wavy stripes out of the black
shape. I brushed the colored shape with glue and sprinkled with glitter to give
them an extra fun sparkle and, once they dried, sewed all three together with a
zig zag stitch (I used black thread because I wanted the contrast on the white
side with the party details, but you could also use white if you wanted
contrast on the front or of course any color you want for an even bigger “pop”). I couldn't find any envelopes to fit the balloons, so I just took a white scrapbook paper, cut it in half, folded that in half, clipped the corners, put the balloon inside and sewed (with black thread) around the edges to seal it. I also added a tuft of zebra fabric and a neon button to the bottom to keep the invitation from moving around inside the envelope.
SWAG
 I also wanted to create some lasting party favors, so I made
each of the girls a matching purse and apron using zebra and neon fabric. I
made the handle out of braided black yarn and attached them to the purse by
simply sewing them to each side over the knot. I also added a contrasting yo yo
and button to the front. You know, details. Emilee’s purse was special. I made
it bigger and added a black and white ribbon flower as well as some thin
elastic at the top.
I also wanted to create some lasting party favors, so I made
each of the girls a matching purse and apron using zebra and neon fabric. I
made the handle out of braided black yarn and attached them to the purse by
simply sewing them to each side over the knot. I also added a contrasting yo yo
and button to the front. You know, details. Emilee’s purse was special. I made
it bigger and added a black and white ribbon flower as well as some thin
elastic at the top.


The aprons were originally meant to be used for the cake
decorating portion of the party which I later ended up scrapping. But, by that
time, I’d already made all of the aprons so I gave them away anyway. I love how
they turned out. The neon against the zebra print had a big impact and they
were simple enough that they didn’t take too much time to put together. The top of the apron is double sided but the
apron is just single sided. The pocket is also doubled since the fabric was so
thin. I added a couple of neon buttons and a zebra yo yo. This also helped me
finally learn how to sew buttons using my sewing machine. Something so basic,
yet I never understood it until this project. If you don’t know how to utilize
this feature on your machine, LEARN. It is SO worth it.


The other items in the grab bags were fitting with the theme.
I bought them from Party City online and, because I was only supplying for 6
girls, ended up being fairly inexpensive. I gave them a pack of neon headbands,
some neon hair extensions, zebra and neon notepads and some neon gel pens.
CAKE
Emilee likes cake, but hates frosting. This makes cake
planning difficult, but I also knew I was up against Cake Boss and Cupcake Wars
as she watches The Food Network as if it were Saturday morning cartoons.
I decided since she was turning 11, I would build two towers
to look like two 1’s. Conceptually, I thought this would be easy as pie. Let’s just say I have a bigger appreciation
for cake artists now.  I went to the home improvement store and purchased a wooden
round base for about 3 dollars and a 1” square dowel for around 2 dollars. First,
I cut the dowel in half then drilled two holes in the base without going all
the way through. I hammered the dowels into the holes and secured with some
wood glue. After wrapping the dowels and base with aluminum foil, it was ready
for cake. It took 6 boxes of cake to have enough for this tower! I used a
square cake pan (the kind with straight edges, not the beveled kind you get at
Wal-Mart – I special ordered mine online) and cut each cake into 4 squares. I
did a thin layer of frosting between each layer and let the towers set in the
fridge for a couple of hours before frosting the outside. I’ve heard this helps
make the cake easier to frost with less crumb mess. I admit, it helped, but it
was far from perfect. I had also heard running a butter knife dipped in hot
water over the frosting after it had a chance to “dry” or “cool” could smooth
out the wrinkles. Again, this helped, but it was not a smooth, fondant look. I
also purchased some edible zebra paper and cut some round circles to add for
decoration. I’m glad I did; it helped cover some of the blemishes I couldn’t
fix with the frosting. I also didn’t get enough frosting for both of the stacks
which is why one of them is the Tiffany blue and the other ended up being party
chip white. When they were complete, I realized they slightly resembled the
twin towers from New York which made me a little nervous – especially because I
was adding candles and lighting them on fire. But, I figured the girls were too
young to notice and I knew that wasn’t what they were.
I went to the home improvement store and purchased a wooden
round base for about 3 dollars and a 1” square dowel for around 2 dollars. First,
I cut the dowel in half then drilled two holes in the base without going all
the way through. I hammered the dowels into the holes and secured with some
wood glue. After wrapping the dowels and base with aluminum foil, it was ready
for cake. It took 6 boxes of cake to have enough for this tower! I used a
square cake pan (the kind with straight edges, not the beveled kind you get at
Wal-Mart – I special ordered mine online) and cut each cake into 4 squares. I
did a thin layer of frosting between each layer and let the towers set in the
fridge for a couple of hours before frosting the outside. I’ve heard this helps
make the cake easier to frost with less crumb mess. I admit, it helped, but it
was far from perfect. I had also heard running a butter knife dipped in hot
water over the frosting after it had a chance to “dry” or “cool” could smooth
out the wrinkles. Again, this helped, but it was not a smooth, fondant look. I
also purchased some edible zebra paper and cut some round circles to add for
decoration. I’m glad I did; it helped cover some of the blemishes I couldn’t
fix with the frosting. I also didn’t get enough frosting for both of the stacks
which is why one of them is the Tiffany blue and the other ended up being party
chip white. When they were complete, I realized they slightly resembled the
twin towers from New York which made me a little nervous – especially because I
was adding candles and lighting them on fire. But, I figured the girls were too
young to notice and I knew that wasn’t what they were.
DECORATIONS
 I made some cheap balloon topiaries out of PVC pipe,
streamers and balloons for the front yard. PVC pipe cheap! I bought 4 10’ poles
for 8 dollars, cut them in half and wrapped them with black streamers. I
attached the balloons by tying two balloons together, then sets of two into 4,
then sets of 4 into 8. I found it easiest to attach them to the PVC by running
a ribbon through the pipe, taping off the bottom end then tying the other end around
the balloon bunch. But this is
important: Make sure to secure them in the ground BEFORE you try and tie the
balloons to the top. Otherwise you’ll be trying to hammer through a bunch of
balloons which is virtually impossible. Because I only had them in the ground a
couple of inches, I decided to secure them with some black ribbon to help them
stay up in case the wind decided to pick up.
I made some cheap balloon topiaries out of PVC pipe,
streamers and balloons for the front yard. PVC pipe cheap! I bought 4 10’ poles
for 8 dollars, cut them in half and wrapped them with black streamers. I
attached the balloons by tying two balloons together, then sets of two into 4,
then sets of 4 into 8. I found it easiest to attach them to the PVC by running
a ribbon through the pipe, taping off the bottom end then tying the other end around
the balloon bunch. But this is
important: Make sure to secure them in the ground BEFORE you try and tie the
balloons to the top. Otherwise you’ll be trying to hammer through a bunch of
balloons which is virtually impossible. Because I only had them in the ground a
couple of inches, I decided to secure them with some black ribbon to help them
stay up in case the wind decided to pick up.
I had some boxes laying around at work that I used for the
game prizes. None of the prizes were as big as the boxes of course, but they
had a big impact and doubled as decorations during the party. I didn’t find any
zebra wrap, so I opted for black with white polka dots and some good solids.

I was picking up all the girls for the party using my van,
so I used a washable paint to decorate the windows and also hung some balloons
out of the back to add some excitement.


For the outdoor tent (this is where the girls ate dinner and
dessert), I used a netted gazebo we already own and purchased some black and
white plastic tablecloths to drape from the ceiling. I also added a balloon
bunch to the center and got to work setting the table. Most of these supplies
also came from Party City and were pretty inexpensive.


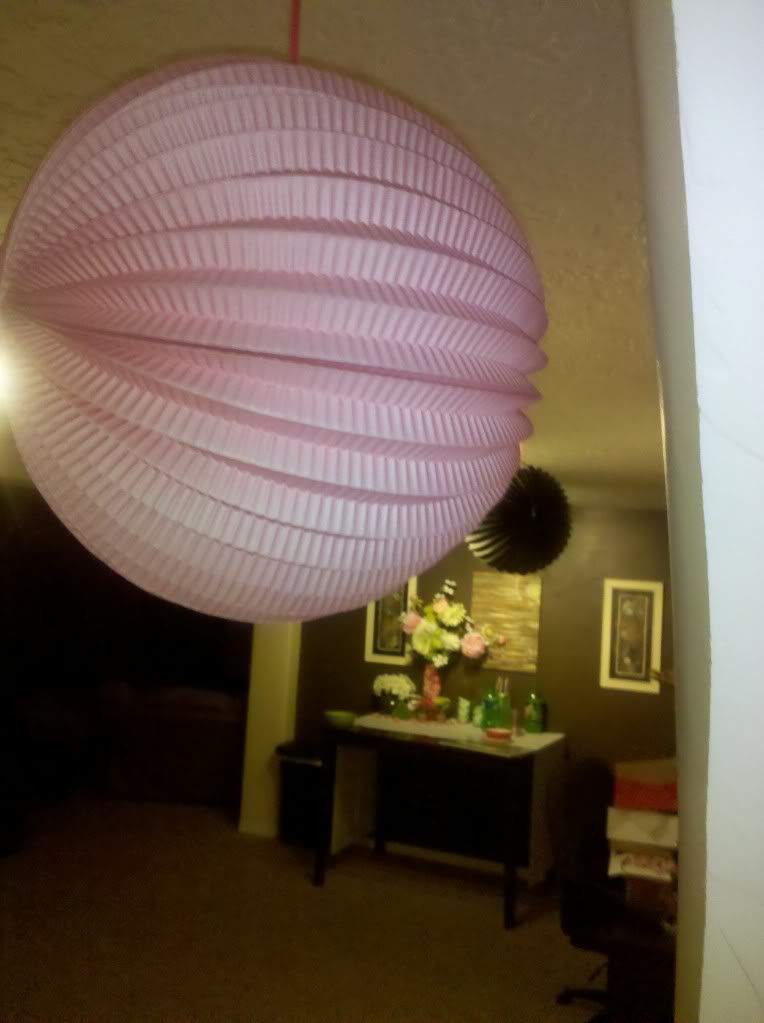
I hung some paper lanterns from the ceiling in the basement
where the girls slept, played games and sang karaoke. I also hung lines of
balloons on the wall which doubled as a photo backdrop as well as location for
the truth or dare game (prior to blowing up the balloons, I stuck one truth and
one dare in each balloon so they could be popped during the game).


FOOD
For the drink, I
prepared some clear Kool-Aid and added some food coloring, then froze it in
star shaped ice cube trays ahead of time. I made sure the Sprite was very cold
before adding the ice cubes so they wouldn’t melt right away and make the drink
yucky colored.


We had a taco bar for dinner as tacos are Emilee’s favorite.
I was able to wash the bowls in between games so I could re-use them later for
the fruit pizza bar. I had most of these items prepared ahead of time to make
it easier to just grab and go. I made the sugar cookies ahead of time as well
as the cream cheese frosting which I stored in a zip lock bag with the tip cut
for easy application.


The morning after, I prepared French toast, turkey bacon and orange juice.

GAMES
For the games, we played Sidewalk Pictionary, Photo Scavenger Hunt and Streamer Fashion Show. The girls seemed to have a good time and I certainly had fun planning!