Search

Showing posts with label Ideas. Show all posts

Monday, August 8, 2011

Fabric Wire Flowers

A few months ago, when I wanted to attempt making some wire flowers, I ordered some thin wire online. I received my order in April, but finally found the time and energy to work on them this weekend. I'll share a few pictures (the best part of blogs, IMHO) then scroll to the bottom for the "how to" instructions.

By the way, if you love these vintage books, you can purchase your own set of three at this adorable shop for only $15! 

First attempt. A little sloppy, but still so cute!

Fun zebra print. I was getting better by this point.

Here's a side view of this little pretty.

 
Oh. My. Gosh. I made some "mini me's" using the same
technique and absolutely fell in love. I'm thinking of
using them for hair clips, headbands or just making a bunch
of them into a bouquet.

 
Yep. I definitely love these. I want to put them on my nightstand so they're
the first thing I see when I wake up in the morning. Except my darling husband,
of course.

Here are all the fabric wire flowers I made. I can't wait to
makre more!


 Ok, now for the directions!
 
You'll need:
  • fabric scraps (the super nice thing about these is they make excellent use of your scrap fabric)
  • white cloth covered floral stem wires, 26 Gauge (I bought mine from this site in bulk - they are pretty inexpensive)
  • floral pins
  • floral tape
  • tacky glue or elmers glue
After making my first flower, I decided the wire was much too long. You can use the entire 18" and have a longer stem, or you can do what I did and cut the wire in half first (which also gives you twice the flowers!).

  1. Wrap the wire around something circular that will form the shape of your petal. I used a jumbo size permanent marker for the large flowers I did and a regular marker for the smaller flowers. Twist the short end around the stem enough to secure the loop (about 3 or 4 twists should do it). 
  2. Grab a pencil and pull the end of the petal enough to give it an oblong shape. 
  3. Squeeze a quarter-size amount of glue onto a scrap of paper and apply a thin coat of the glue on one side of the petal with a paintbrush. Bend the stem so it stands at a 90 degree angle from the petal and place firmly onto your scrap fabric, right side up. I used the other end of the paintbrush to roll over the wire to ensure a firm, flat bond on the fabric. Repeat steps 1-3 a total of 5 times. 
  4. Once the glue is dry, cut closely around the wire. Bend the stem 180 degrees and shape the petal using a marker or something else round that gives you the amount of bend you want on your petals. You can use your fingers for this if you want, but it will be more uniform and "nice looking" if you use something as a template. 
  5. When you have all 5 petals, take the first two and start wrapping the floral tape around them. Add another petal after each pass until you have all 5 petals together, then move down the stem with the tape until you reach the bottom. Tear or cut the tape and secure firmly. 
  6. Insert the floral pin into the center of the flower and voila! Variation: You can add the floral pin when you start wrapping the first two petals instead of inserting at the end. This method works well if you are having trouble getting the pin to sit in the center without poking out of the stem.


Monday, March 28, 2011

Pink Madness

This weekend, my step daughter's and I recreated one of their bedrooms. We bought our house over a year ago and have slowly made improvements, but this one was way over due.

Before the changes, the room was a typical beige-neutral (aka really boring-blah). I would imagine that's because the owner's before us had it set up as a guest room. Having been a teenager myself once, I realize the importance of having your own space that represents your taste where you feel comfortable spending time. Although we had discussed this project many times, my middle step-daughter, Angel, and I decided it was to get it done.
 We started Saturday afternoon by picking out the paint colors:

 Color match of Glidden 75RR63/207 Cotton Candy Pink*
Cotton Candy Pink
 Color match of Dutch Boy BHG303 Budding Romance*
Budding Romance
While we were out, I was looking for these circle foam things. I didn't know what they were called, but I had seen them at Home Depot and Michael's. They look like this:


But alas, the fates were against us that day. When I asked the associates if they knew where I could find them, they all looked at me like I had three heads. Very discouraging. However, while at the craft store, we found a great back up plan: Styrofoam circles. More on what we did with these in a minute.
We originally decided to do a two-tone color scheme. We were going to do the light pink on top and dark pink on the bottom. Angel taped off the wall and we started painting. About half way through the top section, I thought it would be cool if we did a faux-wainscot look on the bottom half by painting contrasting pink stripes. At the time, this was a great idea and all the girls were very excited. However, once we started taping off the rows one by one, we thought maybe we were in over our heads. An hour and a half later, we were ready to go with the first color. In hindsight, we should have painted the whole room light pink first, then done the dark pink stripes over the top.

Peeling the tape away after the paint dried was like magic. Beautiful, lovely contrasting lines of pink covered the wall. I was so delighted! I think I was more excited than Angel.

To add the finishing touch to the paint, we added a one inch black border between the solid color on top and the stripes on the bottom. It was then we realized the room looked very much like a Victoria's Secret shopping bag. But that's ok. Those bags are so cute.
As I mentioned before, I wasn't able to find the foam circles I originally wanted to use for the wall. So, using the Styrofoam stand-in's, we picked out varying sizes as well as some 3" spheres. We cut the spheres in half so they'd stick on the wall, then covered them with the same fabric I used to make her quilt and pillows last Christmas. Her bed doesn't have a headboard, so we made a "headboard illusion" by placing the covered Styrofoam in random spots above her bed.
I also hung up some of the leftover paper lanterns in the corner from the bachelorette party I had hosted a few weeks before. Because the room had so much pink already, we chose a dark purple curtain for the windows accented by a white curtain with bright colored dots and circles. I bunched the white curtain with a hair tie and slid in a large blue Gerber daisy.


We added some stickers under the fabric circles to frame the pillows on the bed...

...And voila: Here is the final product:


Friday, March 18, 2011

Conservative Bachelorette Party

A few weeks ago, I hosted a bachelorette party for my very best friend, Megan. Megan is slightly conservative, but still knows how to have a good time. I searched the Internet high and low looking for ideas and activities that weren't too corny or boring.

After a few hours, I gave up and decided to make up my own games. I took the basics of a bachelorette party and broke them down into the following elements:

What most bachelorette's feel like
after their party


- Liquor
- Strippers
- Feathers
- Glitter
- Cat Fights


Because of the conservative nature of Megan, I decided to swap these elements as such:

- Liquor Mountain Dew, Sprite, Strawberry Lemonade
- Strippers Seductive dance class taught by a local dance instructor
- Feathers Flowers matching the brides wedding decor
- Glitter Wrapped prizes for the games
- Cat Fights Awesome fun

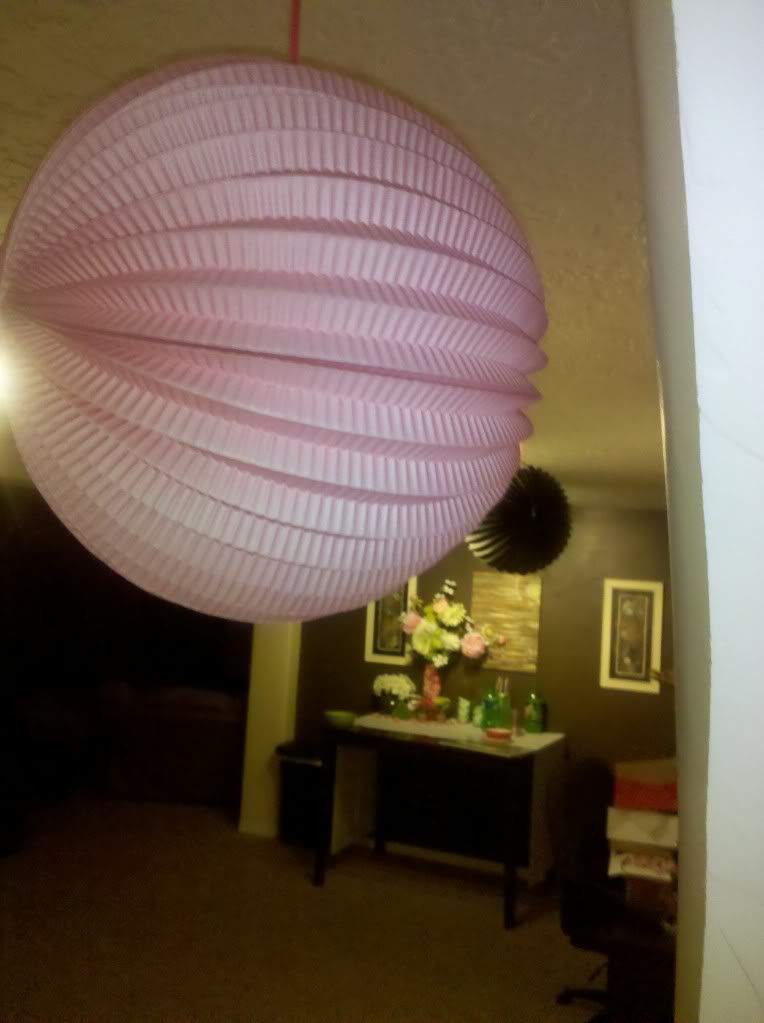
Pink paper lantern with refreshment
table in the background
We really did have such a great time! The dance class was so much fun, especially since most of the women in attendance were complete tomboys.

Preparation

I made little gift bags with the items needed for all of the games. Some of the games required some preparation before hand such as the "Strip Doll" game. I got a picture of Megan's face and Photoshopped it onto the body of a sexy lingerie model (with undies and bra - she's conservative, remember??). Next, I found pieces of clothing through Google Images that matched the pose of the model. I picked out a shirt, hat, pants, boots and a belt. I split the pants into two pieces to they could be used separately. Then, my husband helped me cut out all the pieces and carefully tape them to the card stock body on the corresponding body part.

The next game required drawing 3 large male heads (faces, not the other). I used some large artist paper so they would be big enough and traced the head shape so they'd all be the same size. Then, I gave them each unique features so they didn't look like the same fella. As part of this game, I also purchased some cheap red lipstick, one for each girl.

Finally, I got a pair of dice, a plastic bowl, a large black marker and the rest of the artist pad paper.

There were gifts for the winners of each game so I purchased some small (around $5 each) items such as a bag of Dove chocolates, a cute picture frame, the movie "Corpse Bride" and a few other things. Then I wrapped them in boxes with wrapping paper matching her wedding colors. I also added some pretty ribbon and "M" tags to make them more personalized.

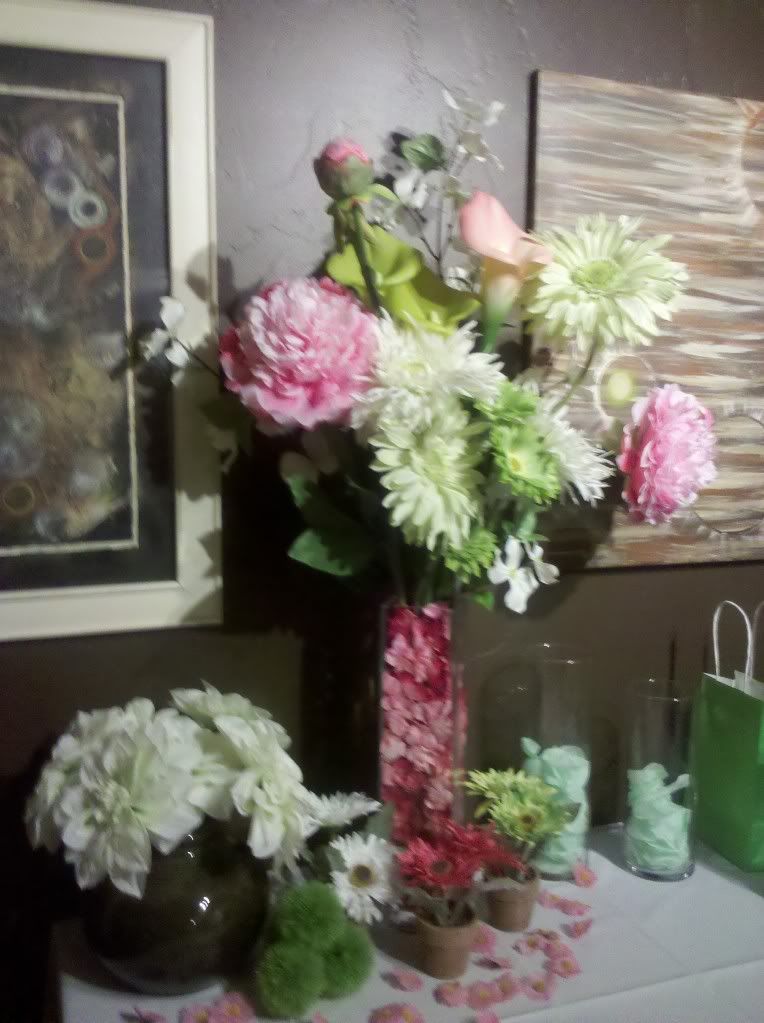
For decorations, I bought some paper lanterns that matched her wedding colors (black and pink). I also bought some large lime green paper flower things from Zurchers to add some color. I had some silk flowers on hand that matched the color scheme beautifully so I used them to make a floral centerpiece for the refreshment table. I also had some little pink daisies set out on the table for "garnish". :)

The refreshments were simple as this was in the afternoon - right after lunch but before dinner. I did some cake balls, cupcakes, mini cupcakes (cupcakes are her favorite), and a strawberry banana bowl.

Let the Games Begin

We started the party with the dance instructor. We only had about 10 of us, so I made room in our basement so we could use the surround sound from our theatre. We danced to Brittney Spears, adding new moves as we practiced. I loved seeing my best friend being sexy! Hopefully she picked up a few pointers for the new husband.

After the dancing, I handed out the bags to each girl. The first game we played was the "Strip Doll". I had asked Megan questions about herself beforehand and had the answers on hand. Each time one of the girls got an answer correct, they could remove an article of clothing. Once they had her "undressed", they wont the game!

Next, we did the kissing game. I had all the girls take out their red lipstick and form into groups of 3 (for this part, I had cut out some numbers using my Cricut and had them already assigned to a team). The male faces that had been prepared earlier were taped to the wall. We played a relay-style race to be the first team to cover up the faces with kisses. This game was hands down hilarious. Everyone had red lipstick smeared all over their chin, cheeks, teeth, etc. It made for a great photo.

Stay classy, ladies.
The last game we played was top 10. During this game, there were various categories listed. The die and bowl were passed around the circle until someone rolled doubles. Once they rolled doubles, they had to take the pad of paper and write down ten things in that category before someone else rolled doubles. If someone else rolled doubles before they finished, the new double roller would start a new list with the next topic until someone else rolled doubles, and so on.


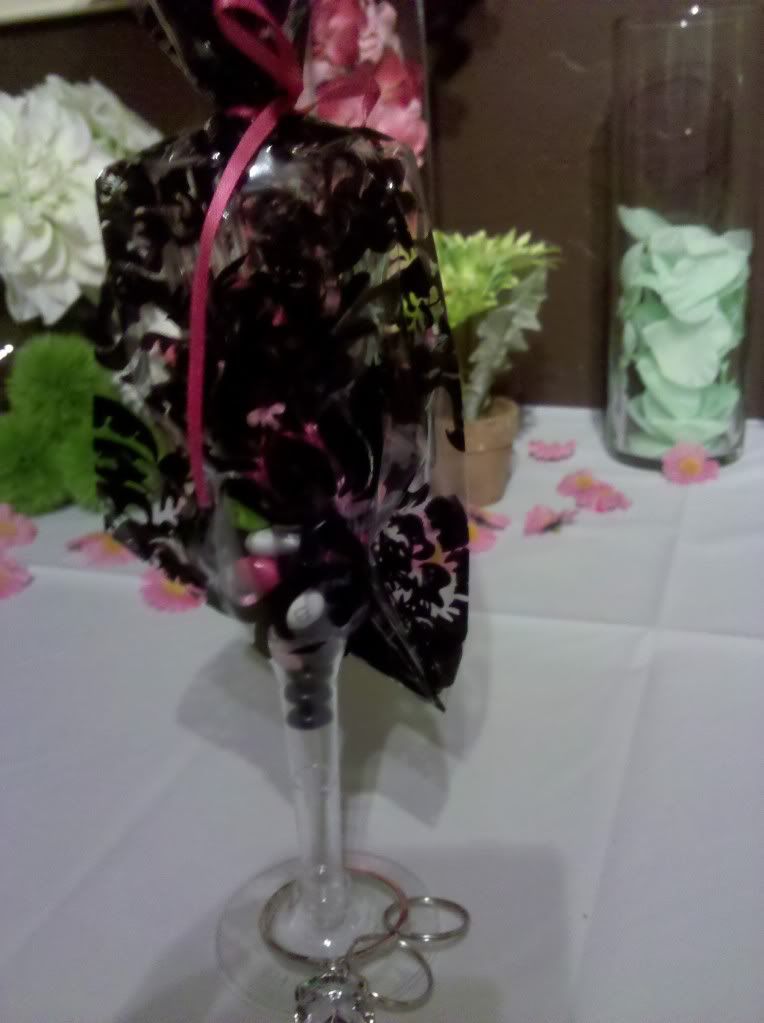
We ended, of course, with the winners of the games opening their presents and the bride opening hers. For the party favors, I had bought some plastic champagne flutes and filled them with (no surprise here) M&M's matching Megan's wedding colors. I bought some decorative plastic favor bags, cut a hole in the bottom, slipped them over the flute, then tied them off with a ribbon. I purchased some large diamond ring key chains from Oriental Trading Co. and added them to the bottom of the glasses for a final touch.

Considering I've never really been to a bachelorette party let alone hosted one, I think it went relatively well. Everyone had a great time and I loved putting it together. I didn't have to use any penis's or boobs, either! The wedding was awesome, Megan was beautiful and the Happy Ending can now begin. Enjoy your weekend!

Monday, February 7, 2011

Chivalry and Romance

I was recently listening to a radio D.J. discussing valentines day traditions and noticed it seems to be pretty standard for women to receive flowers, cards, chocolates and a nice dinner. What happened to creativity? There have to be better ways of personalizing this special day for the one you love.

I started looking around and found some great resources for those who want to think outside the box. You can also check out the new Valentine craft I posted.
I have a special plan for my beau but I won't be able to discuss until after next Monday. I wouldn't want to spoil the surprise!

Send us your ideas and you could win a product valued up to $25.

Remember, chivalry isn't dead as long as we keep it alive.